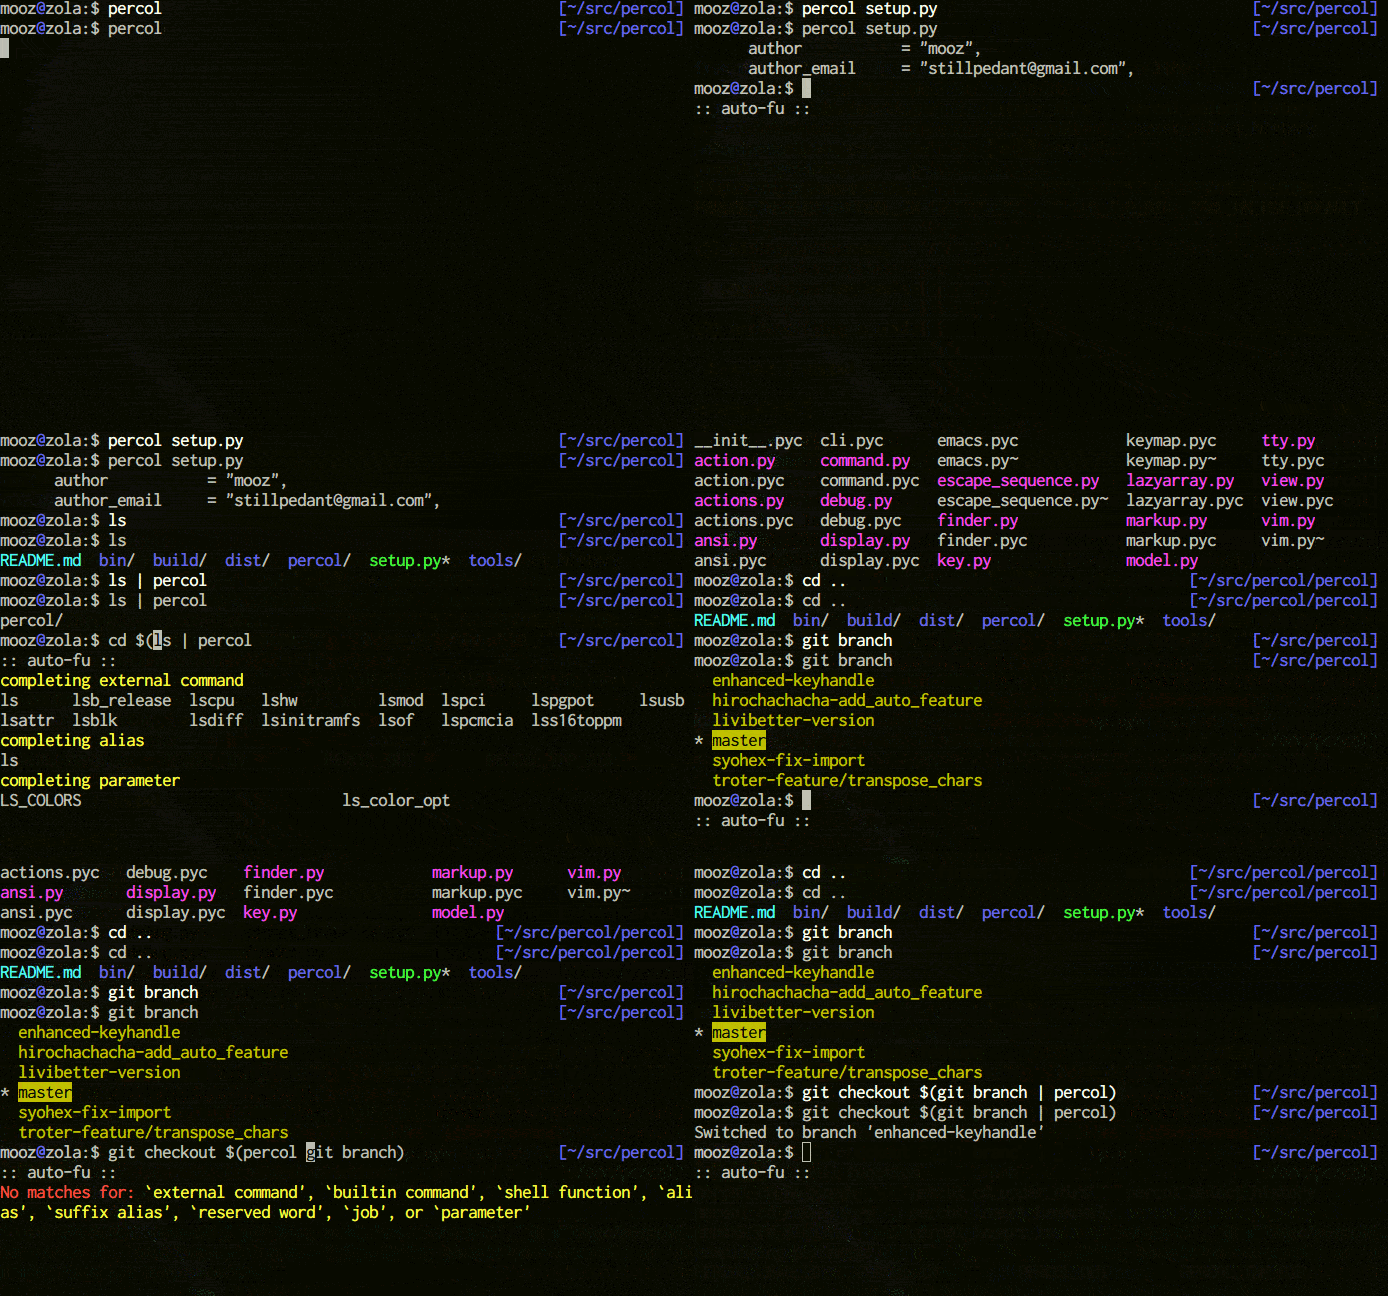
Are you tired of sifting through massive amounts of data in your terminal? Do you find it challenging to filter and select only the relevant information? If so, percol might be the solution you’ve been looking for. percol is an interactive grep tool that adds a flavor of interactivity to the traditional pipe concept on UNIX. It allows you to filter and select input lines in your terminal, making it easier to handle large inputs efficiently. In this article, we’ll explore the features and functionality of percol, its installation process, and various use cases to illustrate its applicability.
Features
percol comes with a range of features that enhance your filtering and selection process. Here are some key highlights:
- Efficient: With lazy loads of input lines and query caching, percol can handle huge inputs efficiently, ensuring a smooth user experience even with large datasets.
-
Customizable: percol’s behavior, including prompts, keymaps, and color schemes, can be heavily customized through its configuration file (
rc.py). This flexibility allows you to tailor percol to your specific needs, making it a powerful tool in your toolkit. - Migemo support: percol supports C/Migemo matching, enabling blazing-fast filtering of Japanese inputs. This feature makes percol an excellent choice for searching and filtering Japanese documents efficiently.
Installation
To get started with percol, you need to install Python 2.x. Here are two installation methods:
-
PyPI: You can install percol from PyPI using the following command:
# $ sudo pip install percol -
Manual: Alternatively, you can clone the percol repository from GitHub and run the setup script manually. Here are the steps:
#
   $ git clone git://github.com/mooz/percol.git
   $ cd percol
   $ sudo python setup.py install
If you don’t have root permission or prefer not to install percol with sudo, you can use the
--prefixflag to specify an installation directory:# $ python setup.py install --prefix=~/.local $ export PATH=~/.local/bin:$PATH
Usage
Using percol is straightforward. Once installed, you can start filtering and selecting input lines in your terminal by piping input to percol. Here are a couple of examples to demonstrate its usage:
-
Specifying a filename:
# $ percol /var/log/syslog -
Using redirection:
#
   $ ps aux | percol
Example Use Cases
To better understand how percol can be applied in real-world scenarios, let’s explore a few use cases:
-
Interactive pgrep / pkill: You can use percol to create an interactive version of pgrep or pkill. For example, to select a process ID (PID) using percol, you can use the following commands:
#
   $ ps aux | percol | awk '{ print $2 }'
To kill the selected process, you can pipe the output to xargs and kill:
#
   $ ps aux | percol | awk '{ print $2 }' | xargs kill
If you’re a zsh user, you can use the following commands as shortcuts (
ppgrepandppkill):#sh function ppgrep() { # Implementation goes here } function ppkill() { # Implementation goes here } -
Z Shell history search: If you’re using zsh, you can integrate percol with your shell to perform incremental searches on your command history. Simply add the following lines to your
.zshrcfile:#sh # Implementation goes hereAfter adding these lines, you can press
Ctrl + rto display and search your zsh histories incrementally. -
tmux integration: percol works seamlessly with tmux, allowing you to select windows and sessions interactively. By adding the following settings to your
tmux.conffile, you can enhance your productivity:#sh # Implementation goes here -
Calling percol from Python: Although percol is primarily designed as a command-line tool, you can also call it from your Python code. Here’s an example:
#python
   # Implementation goes here
Configuration
percol provides extensive customization options through its configuration file (rc.py). By modifying the rc.py file, you can customize prompts, keymaps, colors, and more. Here are a few examples:
-
Customizing prompts: You can modify the appearance of prompts by changing the
percol.view.PROMPTandpercol.view.RPROMPTvariables. You can use various format specifiers to include dynamic content in your prompts. - Customizing styles: You can customize the styles used in percol, such as the color and attributes of candidates, marked lines, and query input.
For more details on customization options, refer to the percol documentation.
Tips
Here are a few tips to get the most out of percol:
-
Selecting multiple candidates: You can select and output multiple candidates by using the
C-SPCkey combination (default binding) to toggle marking. You can also use commands likepercol.command.mark_all(),percol.command.unmark_all(), andpercol.command.toggle_mark_all()to mark or unmark all candidates at once. - Z Shell support: If you’re a zsh user, there’s a completing-function available for percol. This function adds tab-completion support for percol commands in your zsh shell.
Conclusion
percol is a powerful and intuitive grep tool that brings interactivity to the traditional UNIX pipe concept. With percol, you can efficiently filter and select input lines in your terminal, allowing you to focus on the information that matters most. Whether you’re a developer, sysadmin, or data analyst, percol can greatly enhance your workflow and make handling large inputs a breeze. Give percol a try and experience the power of interactive filtering and selection in your terminal.
So why wait? Install percol today and start exploring its features and customizations. You’ll wonder how you ever managed without it!
Have you tried percol? Share your thoughts and experiences in the comments below.
Related Projects
- canything by @keiji0: A seminal work in interactive grep tools.
- zaw by @nakamuray: A zsh-friendly interactive grep tool.
- peco by @lestrrat: An interactive grep tool written in Go language.
- fzf by @junegunn: An interactive grep tool written in Go language.
Image Source

Leave a Reply